In this guide, we’ll walk through how to integrate Capacitor with a Next.js project to build cross-platform mobile apps. Capacitor is a powerful tool that helps turn web applications into native mobile experiences.
Prerequisites
Before you start, ensure you have the following installed:
- Node.js and npm
- Next.js
- Android Studio (for Android development)
- Xcode (for iOS development, macOS only)
Step 1: Set Up Next.js Project
First, set up your Next.js project if you haven’t already:
npx create-next-app@latest
cd your-next-app
Step 2: Install Capacitor
Next, install Capacitor core and CLI:
npm install @capacitor/core
npm install -D @capacitor/cli
Initialize Capacitor in your project
npx cap initFollow the prompts to configure your app. For example:
appId:com.example.appappName:example
Step 3: Configure Capacitor
Create or update the capacitor.config.ts file:
import type { CapacitorConfig } from '@capacitor/cli';const config: CapacitorConfig = {
appId: 'com.example.app',
appName: 'example',
webDir: 'out', // Ensure this matches your Next.js output directory
};export default config;
Step 4: Install Platform Plugins
Install the Capacitor platform plugins for Android and iOS:
npm install @capacitor/android @capacitor/iosStep 5: Add Platforms
Add the Android and iOS platforms to your project:
npx cap add android
npx cap add ios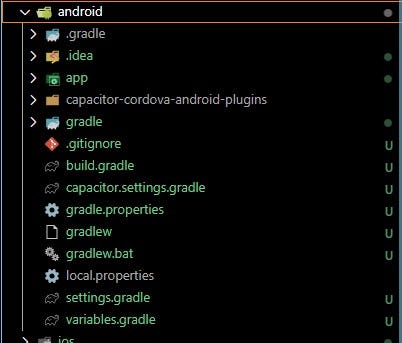

Step 6: Configure Next.js for Static Export
Update your next.config.mjs to enable static exports and disable image optimization:
/** @type {import('next').NextConfig} */
const nextConfig = {
  reactStrictMode: true,
  images: {
    unoptimized: true,
  },
  output: 'export',
};
export default nextConfig;
Step 7: Build and Export Your Project
Build and export your Next.js project:
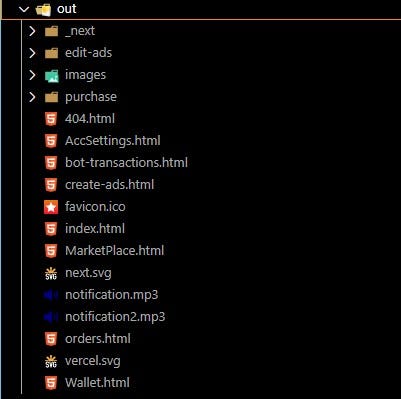
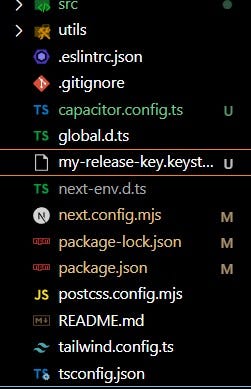
npm run buildAfter a successful build, if the folder and file structure looks like this, the specific file names do not matter. It means the build was successful
Step 8: Sync Capacitor
Sync the Capacitor configuration and assets:
npx cap sync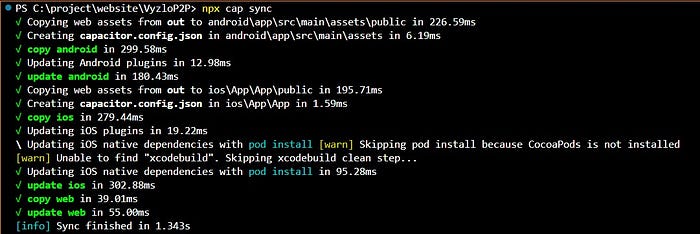
Step 9: Open and Run the Android Project
Open your Android project in Android Studio:
npx cap open androidRun your app on an Android device or emulator directly from Android Studio.
Step 10: Open and Run the iOS Project
For macOS users, open your iOS project in Xcode:
npx cap open iosRun your app on an iOS device or simulator from Xcode.
Step 11:Generate Apk
Before generate apk file you must have to create keyStore:
keytool -genkey -v -keystore my-release-key.keystore -alias alias_name -keyalg RSA -keysize 2048 -validity 10000Enter keystore password: 123456
Enter key return password for : 123456
What is your first and last name?
[Unknown]:
What is the name of your organizational unit?
[Unknown]:
What is the name of your organization?
[Unknown]:
What is the name of your City or Locality?
[Unknown]:
What is the name of your State or Province?
[Unknown]:
What is the two-letter country code for this unit?
[Unknown]:
Is CN=your name, OU=your organizational unit, O=your organization, L=your city, ST=your state, C=your country correct?
[no]: yes
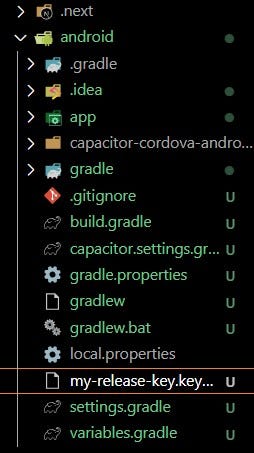
Step 12:Change the file Directory
move my-release-key.keystore file into Andriod folder
npx cap build android --keystorepath my-release-key.keystore --keystorepass 123456 --keystorealias alias_name --keystorealiaspass 123456 --androidreleasetype APKStep 13:Build Apk
npx cap build android
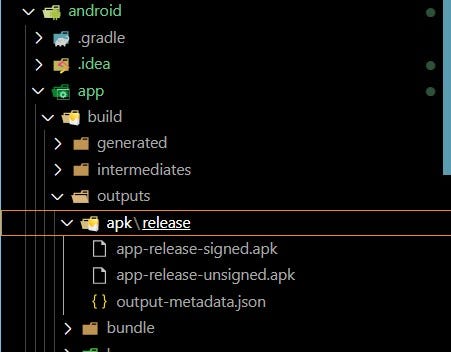
Step 14:Build Apk Directory
android>app>build>apk>release